Fish Finder Transducer Mounting: Transom, Trolling Motor, Through-Hull, Scupper and Portable Mounts
Most bad sonar readings come from the mount, not the fish finder. Here is how each transducer mounting option works, which boats it suits and how to avoid the common mistakes.
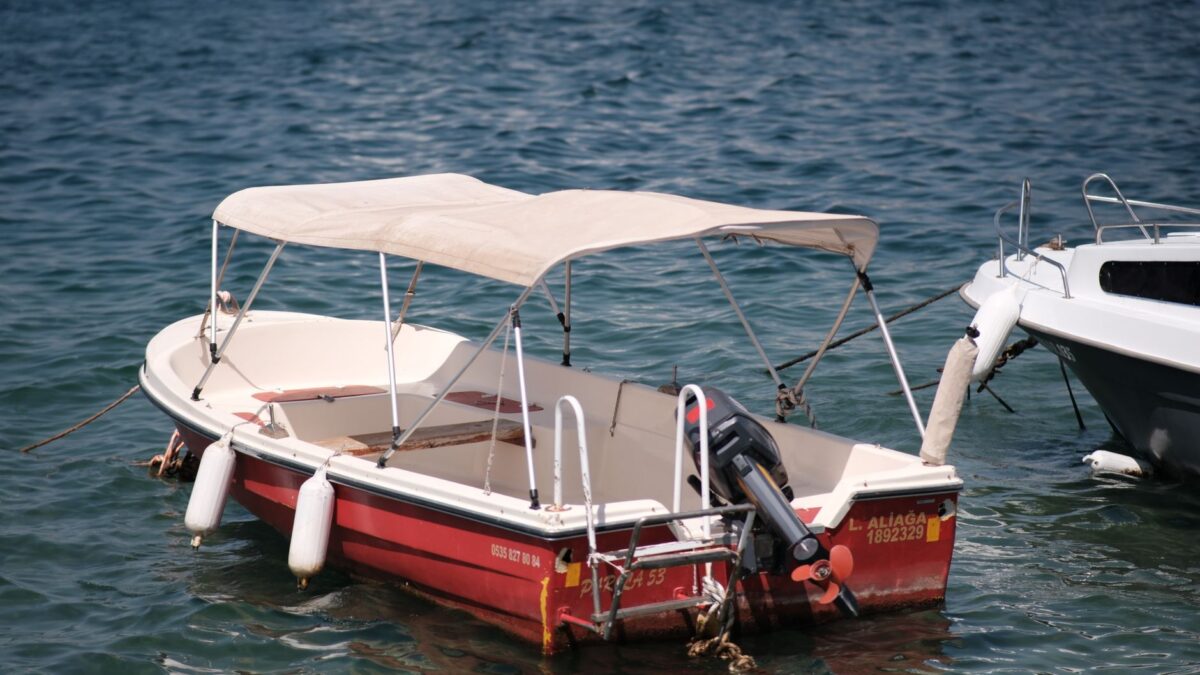
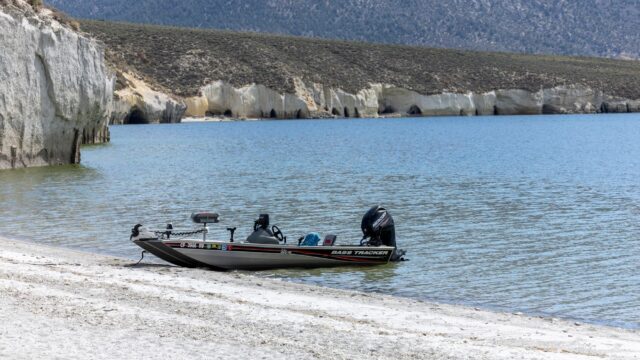
The best transducer mount is the one that keeps the transducer underwater, level and in smooth, bubble-free water at the speeds you fish. For most small outboard boats that means a transom mount; bass boats often add a trolling-motor mount at the bow; larger and inboard boats use through-hull mounts; kayaks use scupper, pocket or arm mounts; and shore, rental-boat and ice anglers use portable mounts. When readings drop out, air bubbles and turbulence are far more often to blame than the fish finder itself.
Mounting options compared
| Mount | Where it goes | Pros | Cons |
|---|---|---|---|
| Transom | On the back of the hull, just below the waterline | Simple, adjustable, works with most transducers including side imaging | Exposed to impacts; sensitive to turbulence from hull features and the motor |
| Trolling motor | Clamped to the motor, or built into it | Reads at the bow where you fish; aims where the motor points | Works only with the motor deployed; cable routing; side images rotate as you steer |
| Through-hull | Through a hole in the hull bottom | Clean water flow, protected, good at speed | Requires cutting the hull; permanent; best done by an experienced installer |
| In-hull (shoot-through) | Inside a solid fiberglass hull, bonded or in a fluid-filled housing | No holes, fully protected | Some signal loss; not for aluminum or cored areas; many imaging transducers are not designed for it |
| Kayak scupper, pocket or arm | Through a scupper hole, in a molded pocket, or over the side on an arm | Low profile, protected, little drag | Must fit your hull; needs care when launching and landing |
| Portable | Suction cup on the hull, clamp on a gunwale, or a pole | No installation; moves between boats and the ice | Less secure; not suited to running at speed |
Installing a transom mount
- Read the installation manual first. Placement rules differ by transducer, especially for side imaging, and the manual gives the exact measurements.
- Find clean water flow. Avoid spots directly behind strakes, ribs, rivet lines, livewell intakes, ladders and anything else that creates bubbles. Many install guides recommend the side of the outboard where the propeller blades move downward and a minimum distance from the prop.
- Keep the beam clear. Side imaging needs an unobstructed view to both sides, so nothing such as the motor’s lower unit or a trim tab can sit in the beam’s path.
- Set the height. Many transducers are set so the face sits just below the bottom of the hull; follow the manual’s measurement. Too high and it sucks air at speed; too low and it throws spray and adds drag.
- Set the angle. The face should point straight down when the boat sits at its normal running or resting attitude, as the manual specifies. Imaging transducers must also be level side to side.
- Seal the screw holes with marine sealant so water cannot soak into the transom.
- Route the cable away from engine wiring and power cables to reduce interference, and leave slack so the kick-up bracket can swing if you hit something.
- Test and adjust. Check readings at idle, trolling speed and cruising speed. If the bottom disappears at speed, move the transducer up or down in small steps.
Trolling-motor mounts
A transducer on the trolling motor reads the water at the front of the boat, where you stand and cast, and it points wherever the motor points. That makes it useful for checking cover before you fish it and is the usual home for live sonar. Many bow-mount motors are sold with a built-in transducer designed to work with the same company’s displays; otherwise, a clamp kit attaches a transducer to the motor shaft or lower unit.
Secure the cable along the shaft with ties, leave enough slack to stow and deploy the motor, and remember that this transducer reads only when the motor is down. Side images from a trolling-motor transducer turn as you steer, so they look best when you travel in a straight line. If you are still choosing a motor, our trolling motor buying guide covers shaft length and integration with fish finders.
Through-hull and in-hull mounts
Through-hull transducers suit larger boats, inboards and boats that run fast on big water, because the transducer sits in clean flow away from the transom. They require cutting a hole in the hull, often a fairing block to level the transducer on an angled bottom, and careful sealing. A mistake here can let water into the boat, so many owners have a marine electronics installer do the job.
In-hull or “shoot-through” mounting places the transducer inside a solid fiberglass hull and sends the signal through it. There are no holes, but some signal is lost, it does not work through aluminum, and many imaging transducers are not designed for it. Check the transducer’s manual before trying it.
Kayak mounts
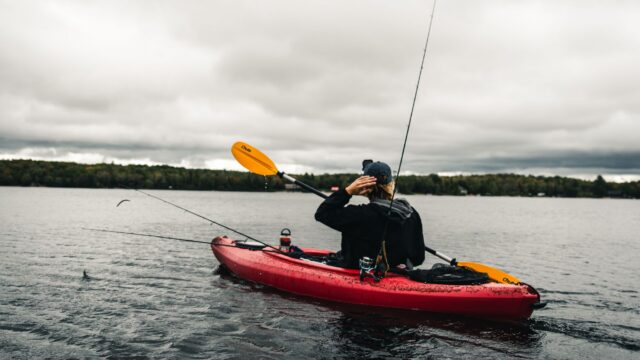
Many fishing kayaks have a molded transducer pocket, a scupper designed to hold a transducer, or a rail for a side arm. A scupper mount drops the transducer through a scupper hole so it sits just below the hull; an arm holds it over the side and can usually swing up for launching and landing. Imaging transducers generally need direct contact with the water, and side imaging needs a clear view to both sides. If you are still picking a boat, our guide to choosing a fishing kayak covers built-in transducer options.
Portable mounts
Suction-cup mounts stick to a smooth, clean hull below the waterline; clamp mounts attach to a gunwale or rail; and pole mounts hold the transducer down for ice fishing or shallow water. They are ideal for rental boats and for moving one unit between boats, but they can slip at speed, so pull them in before running. Our guide to portable and castable fish finders covers complete kits.
Common mounting mistakes
- Mounting behind a strake or rivet line. Bubbles stream across the face and the bottom vanishes at speed.
- Mounting too high. The transducer ventilates and loses the bottom whenever the boat accelerates or turns.
- Wrong angle. A tilted transducer shows weak arches and lopsided side images.
- A blocked side-imaging beam. The motor, hull or a bracket casts a shadow on one side of the image.
- Cable next to power wiring. Electrical noise shows up as lines or speckles on the screen.
- No room to kick up. A fixed, overtightened bracket can break the transducer or transom on the first stump.
- Expecting high-speed readings from a trolling-motor, kayak or portable mount that was never designed for them.
Bottom line
Pick the mount that matches your boat and how you fish, then follow the manual’s placement rules closely: clean water, correct height, level angle, and a clear path for imaging beams. Most lost-bottom and messy-image problems are solved by moving the transducer, not by replacing the fish finder.
FAQ
Why does my fish finder lose the bottom at high speed?
Air bubbles or turbulence are passing over the transducer face. Check that nothing in front of it creates bubbles, then adjust its height and angle in small steps and test again.
Can I mount two transducers on the transom?
Yes, but give each one clean water and follow the manuals’ spacing guidance. Two units pinging at similar frequencies can interfere with each other, which some units can reduce with interference settings.
Do I have to drill holes?
Not always. Portable, suction-cup, clamp-on trolling-motor and many kayak mounts need no drilling. A standard transom mount uses screws, and a through-hull mount requires cutting the hull.
Where should a transducer go on a kayak?
In a built-in transducer pocket or scupper if your kayak has one; otherwise on a side arm. Keep it level, in direct contact with the water and protected when you launch and land.